Arch Enemies: A Wheel-Liner Clean-Out for Blackpool Cars
There is a part of every Blackpool car that rarely gets seen, let alone cleaned. It sits behind the plastic wheel-arch liner, quietly filling up with the kind of debris that loves a coastal climate: sand from the beach, grit from the promenade, leaf litter from a windy walk home, and a fine paste of mud and salt spray. None of it looks dramatic. That is precisely why it gets ignored.
The trouble is that wheel-arch liners are not sealed boxes. They have clips, slots, drainage paths and overlapping edges, and all of those little gaps can trap moisture. On a Blackpool car, that moisture often arrives with salt in it. Add a handful of organic matter and you have a slow, quiet corrosion risk sitting just out of sight. A seasonal clear-out is one of the simplest bits of preventative care you can do at home.
Why the arches collect so much in the first place
A wheel arch is basically a sheltered shelf with a drain. The liner protects the metal behind it from stones and spray, but it also creates a gap where debris can settle. Front arches tend to catch grit and sand thrown up by the tyres. Rear arches often collect more leaf mulch and road film because there is less airflow to shift it. Cars that live near the coast, do regular beach trips, or park under trees are prime candidates for a build-up.
Once that material is wet, it stays wet for longer than you would expect. The liner holds it against the arch lip, the sill area, and sometimes the fixings and seams behind the plastic. You may not see anything from the outside beyond a dirty arch lip. The real story is often behind the liner, where damp grit sits patiently.
Start with a dry-day inspection
Pick a dry day and park somewhere flat and safe. You do not need to strip the car down to check the basics. Turn the front wheels onto full lock so you can see along the arch, and use a torch to look behind the liner rather than just at it. A bright light is more useful here than a bucket of water.
Look for trapped leaves, sand, grit and mud. Check the bottom edge of the liner, the arch lip, and any drainage slots. Give the clips a gentle look too. If they are cracked, missing or seized, make a note before you start pulling at anything. If you spot bubbling paint, soft metal, or a liner that has been rubbing, stop and get a professional opinion. This is a cleaning job, not a rust repair job.
The kit that keeps it straightforward
You do not need a garage full of equipment. A soft brush, an old toothbrush, a torch, gloves, a watering can or gentle hose, pH-neutral car shampoo, a couple of microfibre cloths and a plastic trim tool will cover most of it. A tray for clips is genuinely useful, because small plastic fasteners have a habit of vanishing into gravel at the worst moment.
If you are removing a wheel, use proper stands and never rely on a jack alone. If you are not confident about raising the car, work with the wheels turned and reach only what you can safely access. There is no prize for wedging yourself under a car on a Blackpool back street.
Clear the muck without attacking the car
Loosen the bulk of the debris by hand or with a soft brush. Do not use a screwdriver to stab at packed grit; you are more likely to scratch paint, damage a clip or catch a brake line. If your liner has an access panel or a lower section that unclips, use a plastic trim tool and take your time. Keep the clips together and note which hole each one came from if the liner is fiddly.
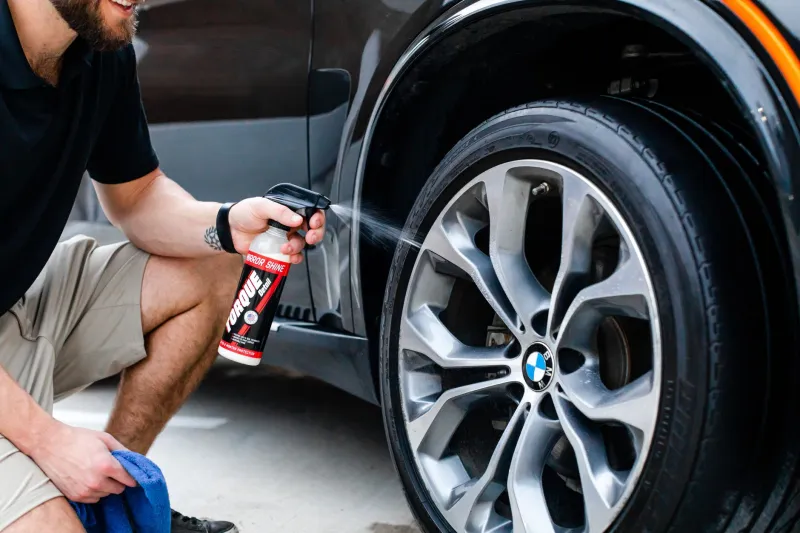
Once the loose material is out, rinse gently with water and a little shampoo. Avoid blasting a pressure washer directly at clips, electrical connectors or the back of the arch. The aim is to flush debris out, not force water into places it cannot escape from. Pay attention to drainage paths at the bottom of the liner and around the sill area. A soft brush or a plastic zip tie can help clear a slot without scraping the paint.
Dry it properly before refitting
This is the step most people rush. Dry the arch and liner with cloths and, if you have one, a blower or fan. Leave it to air for a while before you refit anything. Dampness trapped behind a liner is exactly what you are trying to avoid. When the liner goes back on, make sure it sits flush and that all the original fixings are present. Replace any missing clips rather than leaving the liner loose to flap about.
While you are in there, check the arch lip for stone chips. A tiny chip is much easier to deal with now than after a salty winter. A touch-in pen is not a substitute for proper paint repair, but it can help protect exposed metal in the short term.
A simple Blackpool seasonal routine
Give the arches a proper check twice a year: once after autumn leaf fall and once after the worst of the winter salt. In between, a quick look when you wash the car is enough. After a beach trip or a run along the promenade, a gentle rinse of the arch lips will help shift sand and salt before they settle. If you change wheels seasonally, that is the perfect moment to look behind the liners.
It is not glamorous work, and nobody will notice it from the pavement. But keeping the arches clear helps moisture drain away instead of sitting against metal, and that is exactly the sort of quiet maintenance a coastal car benefits from.